by Florentina Mossou (The Netherlands)
Part 6 Creating Your Signature Makeup Look
Overview
- Introduction – Light, colour and shape
- A Statement of Scale – Foundation for Vertical Yang
- A Statement of Dimension – Contour for Horizontal Yang
- A Statement of Curve – Blush and Lipstick for Vertical Yin
- A Statement of Detail – Highlighter and Eye Makeup for Horizontal Yin
- Creating Your Signature Makeup Look
Welcome to the final post in the Aligned Makeup Masterclass series! This is where we’ll put it all together, to create your own signature makeup look. I’ll also show you how my own signature makeup turned out, announce new spots for Align, and you’ll find the details of the giveaway. Enjoy!
Signature Makeup
A signature makeup is your most “centred” version of makeup, where you look enhanced, but still exactly like yourself. I always think of it as a heightened reality – a more polished version but still absolutely real and true. And this why emphasising the eyes is so important for signature makeup – so people can really see and connect to you.
So where to start? It follows from the three pillars that we started with, all the way back in the first post. Your Season and body type, the first two pillars, are the most important right now. Makeup that harmonizes with the pillars, helps to emphasise the eyes and creates your signature makeup.
In posts 2 to 5, we discussed signature products for the four dimensions of Align. With all that information in our back pocket, let’s start building your signature makeup.
Step 1 – Find your primary Align dimension
The first step is figuring out your primary Align dimension. Please refer to the intro post, where I shared the main traits of vertical yang, vertical yin, horizontal yin and horizontal yang. Sometimes people are capable of recognising their primary influence, but it’s not always obvious. If you hesitate or would simply like to know all your dimensions in your body type, I’m actually opening up spots to work with me! See more information below.
For your Season, it helps to know your best colours, but it’s not absolutely necessary for this Masterclass. You can also just work with the makeup you currently own. If you do want to know your colours, of course nothing beats a colour analysis, but we also have the resources on this website to help you out.
Image by Raphael Lovaski from Unsplash
Step 2 – Your statement products
Once you decide your primary Align dimension, you know your statement product for line. If you also know, or guess, your Season, you can work out your signature product for colour. In that case, you’d work with two statement products together.
I put all products in a table, for easy reference. Attentive readers will have spotted these parallels between Season and Align dimensions already.
Season
Spring
Summer
Autumn
Winter
Colour Quality
Luminosity
Gradients
Shading
Contrast
Signature Product
Highlighter / Eye
Blush / Lipstick
Contour
Foundation
Line Quality
Detail
Curve
Dimension
Scale
Align dimension
Horizontal yin
Vertical yin
Horizontal yang
Vertical yang
Let’s see how this might work. Imagine you’re a Light Summer and you have horizontal yang. Horizontal yang likes contour, however Light Summer is not traditionally associated with it.
Applying just contour in the right shade (remember to look for your contour product among the eyeshadows, if you can’t find the right shade among designated contour) works wonderful with your yang aspect, but can look a little boring on your colouring. So you would pair it with Summer’s blush, and satisfy both Season and body type.
Contour and blush together make the signature for our horizontal yang Light Summer.
Image by Kelly Sikkema on Unsplash
Step 3 Build your Statement
Signature makeup is build around your statement product(s). First, experiment with the general techniques that I described in the first half of your specific post.
Leave the fine-tuning, by which you tweak your Align product for Season as described in the second half of the post, for later. If you don’t know your Season, you would skip the fine-tuning anyway.
The goal is that you settle on a technique you a) like, b) is comfortable to wear, and c) is easy and quick to apply, after initial practice.
For our experiment, I recommend you work with your signature products on a bare face. So unless your primary dimension is vertical yang (in which case you would start with foundation), you might start with eye makeup or contour first.
On a bare face, you can easily judge if what you’re doing is working or not. It sets the benchmark: if the makeup looks true to you without foundation and all the other supporting products, you know for sure you are going in the right direction. And it will look even better in the finished look (which you would apply in the normal order, of course).
You can take pictures of this step, to have a different perspective and also to check back what you did later. Sometimes it helps to switch to a black and white filter, so you can focus on shape and forget colour for a moment.
Step 4 Supporting products
When the statement part is done, it’s a matter of building the complete look with the supporting makeup products you like to wear. Makeup is unbelievably mix and match, rather unlike clothing, so anything goes as long as it’s compatible with Season and body type.
The main difference between your statement product and your supporting product, is that you use your statement product to emphasise your eyes. Horizontal yin excepted, that emphasis is always indirect, via the blush or the contour for example.
The remaining products can enhance your makeup a lot, but they function more like the background orchestra. You’d miss them if they weren’t there, but they don’t have to draw attention to themselves.
The simplest option is to just put the supporting products in your usual way. However, you are totally welcome to pick ideas from the other posts, even if they are not your dimension, and adjust them into something that you like.
You can adjust the intensity or amount of the product, with the shape and size of the application, and with placement. Just remember to to make it work as a supporting product, not a statement one. Also, I highly recommend trying different options before you decide what works.
Because we started on bare skin, you may have to take off your application from step 2. It’s fairly difficult to apply foundation when for example your blush was already on. Even better is just to take multiple days to figure this out. Here too, pictures can be helpful.
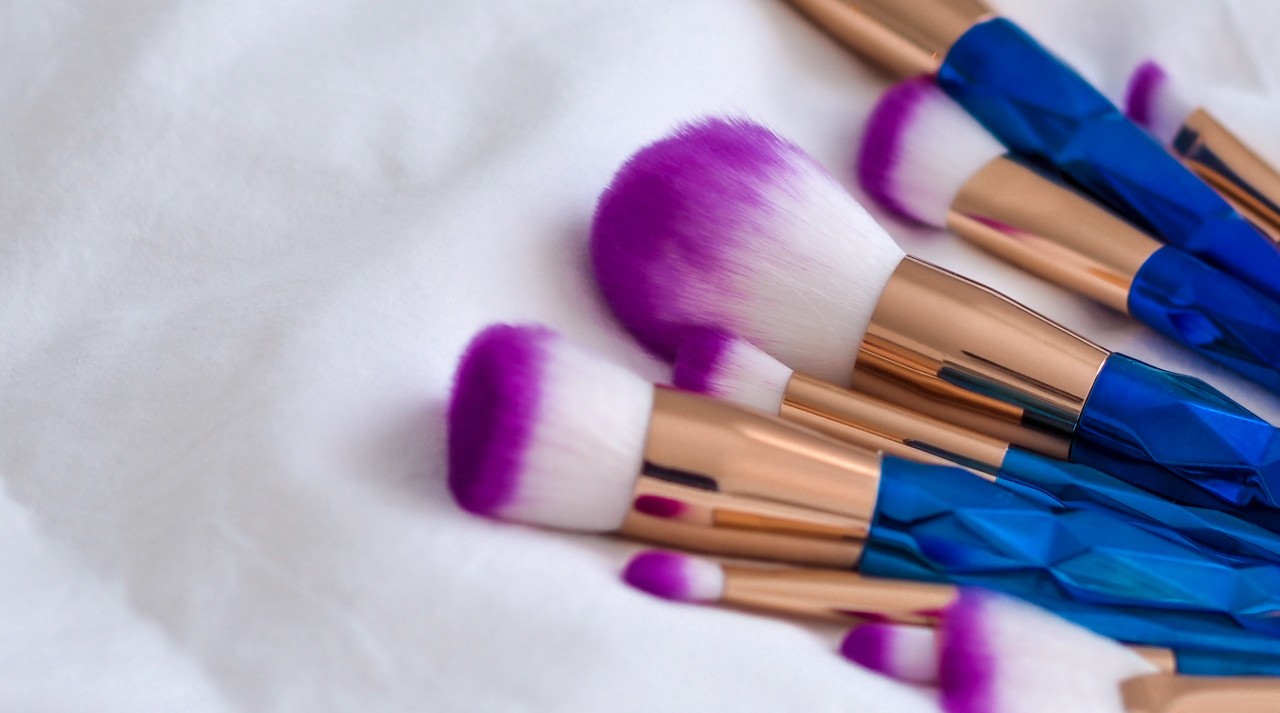
Image by Laura Chouette on Unsplash
Optional: Incorporate your essence
In our first post, we briefly discussed essence. It’s the general vibe that you like to express, which follows from your personal taste. So if you have a specific vision you’re working toward, this is also the time where you tweak your products to suit that vision. It could be that you want a statement colour eyeshadow, like an orange lid for a very energetic look, or a darker lipstick for more drama.
In the Signature Makeup Workbook for Align clients, I include more steps to help you with this.
Step 5 Optimize your products and tools
After you’ve settled on a routine and you’ve practiced it a couple of times, it’s time to see if your makeup bag is up to the job.
For example, if you’ve been working with a contour that has glitter in it, it might be nice to find one that makes a convincing shadow. Or if you’ve been wrestling with brushes that are too large for your face, try to find a smaller ones. These don’t even have to be dedicated makeup brushes – you can also experiment with (budget) fine art brushes.
Step 6 Branch out
Signature makeup comes in very elaborate versions, but you can also distill it into a 3 product routine. It’s good to have multiple versions ready ‘to go’.
For example, you could develop your signature makeup into a regular day time routine for work, or into it’s quickest possible version, for those days you late (I definitely recommend that one :P).
It’s also nice to have a version for a party/date look, or a minimal look for casual days.
Also, your signature look is also a perfect jumping off point for more creative and elaborate looks, that still look real and exactly like you.
My signature makeup look
After all this talk, I thought it would be nice to share what my own makeup looks like.

Image by Florentina Mossou
I have horizontal yin as my primary, so that’s how I am wearing my eye makeup.
My brows are centre-lined, and eyeliner is compact and a lot shorter than my lash line. I’m wearing a dot contour eyeshadow in the socket line. The dot is the size of a chickpea, and still it’s plenty. In fact, you’d almost think this was regular shading. Which is exactly my point – to give the same effect, different people have to wear different makeup (and clothes too).
The highlighter under my eye brow is also a dot, although my hair sits in front so you can’t really tell.
I’m a Winter, so theoretically I’d also wear a foundation to emphasise contrast between skin and features of the face. However, in the table above we see that foundation also emphasises large scale – and I’m about as small scale as you can get. So that doesn’t really work.
Instead of foundation, I just wear concealer in the centre of my face, around my nose and chin. I still get the full coverage, but in a very small area, only where I need it. The outside of my face doesn’t have any foundation or concealer.
This works well with yin and Winter, but it doesn’t really set up the contrast that Winter needs. That means I need to find contrast in a different way. I could have done it with eye makeup, but I chose to work with my secondary dimension of vertical yin instead.
Vertical yin wears lipstick extremely easily, and so does Winter. And because Winter’s contrast had to go somewhere, I wear a quite a dark lipstick. This is not a light red – it’s a Bright Winter red mixed with a True Winter purple.
However, horizontal yin is still my primary. That’s why I’m wearing a curved lip line in a sharp S-curve, which is more suitable to horizontal yin. I left the lip line sharp and defined instead of diffused (as I would if vertical yin was my primary). And of course, the lipstick needs a shiny finish too.
See how I chose products and techniques that are compatible with my Align primary, secondary and Season, and adapted them so they work with all three at the same time?
The result is balanced makeup that enhances me, yet stays completely true to what I look like.

Image by Goutham Krishna on Unsplash
NEW SPOTS OPEN for Align
If you would like my help with makeup, as well as clothing, accessories and hairstyling, I have good news! Due to Covid-19 I had to close my business entirely in 2020. Now, for the first time in over a year, I’m opening up my calendar again for Align clients.
Find out more about Align by clicking the button below.
What’s the difference between Align and the Makeup Masterclass?
Believe it or not, makeup is actually only a small part of Align. We spend much more time on clothing, and also accessories and hairstyling. You will recognise many things you like for yourself, and finally understand why.
You will learn to see clothing in a whole new light, and understand exactly what works. Besides, Align includes many examples of possible options and styles, all of which are perfectly right for you.
That bring me to another difference: how specific the advice is. This masterclass is very elaborate, because it needs to be general. I can’t teach you one-size-fits-all advice, there is no such thing. The only way to teach something useful, is by covering a whole range of options.
However, when I know what you look like, I’m able to give you highly specific advice. Align includes the Signature Makeup Workbook that explains which techniques work the best. Focused makeup can make a powerful difference. The workbook guides you though those techniques with graphics, as well as more information about essence.
If this sounds like something you would like, click the button below to find out more. Enrolment is open from now until Saturday 6 March 23.59 pm, Central European Standard Time.

Image by Oskars Sylwan on Pixabay
Giveaway: one FREE seat in Align Spring 2021! [Giveaway closed]
Because I want to encourage you to try out the tips from the Masterclass for yourself, we’re doing a giveaway!
You can enter by sending in:
- a before picture of your normal daily makeup;
- an after picture where you incorporate one or two techniques from the Masterclass;
- And a few sentences about what you learned from the Masterclass.
Send your entry to align@callastudio.nl before Thursday March 4th, 2021. Pictures will not be shared. Size of the pictures needs to be below 2MB.
I will randomly select one winner from the entries on Friday 5 March, and announce it here via the blog. The winner will receive one seat in Align Spring 2021 for free. If you win but have already signed up, I will simply refund the enrolment fee.
Also, please note that it’s not a competition. Everybody who enters has equal chance, it doesn’t depend on your makeup skills.
Edit Friday March 5th:
The giveaway is now closed, and I am delighted to announce the winner: Molly F.
Congratulations, Molly! I’ll contact you via email with more details.
To everyone who sent in their entries, thank you for sharing your pictures and stories – I adored reading your messages, and I’ve seen some amazing before and after pictures – subtle yet powerful changes. I’m so proud of you all!!!
And that’s it, our final instalment in the Makeup Masterclass series is complete. It was a great pleasure to share my insights with you, and I hope you enjoyed it.
If you have any questions, feedback or would like to find out more about Align or the giveaway, email me at florentina@callastudio.nl and I’ll get back to you.
Of course, you can also ask any questions you have, about Align or the Aligned Makeup Masterclass in the comments. I’ll be around in the coming weeks to answer them.
