by Florentina Mossou (The Netherlands)
Part 5 A Statement of Detail – Highlighter and Eye Makeup for Horizontal Yin
Overview
- Introduction – Light, colour and shape
- A Statement of Scale – Foundation for Vertical Yang
- A Statement of Dimension – Contour for Horizontal Yang
- A Statement of Curve – Blush and Lipstick for Vertical Yin
- A Statement of Detail – Highlighter and Eye Makeup for Horizontal Yin
- Creating Your Signature Makeup Look
In the penultimate part of this Masterclass, we’ll focus on the best makeup for horizontal yin, the last of the four major dimensions. Horizontal yin has a special relationship with detail, and so we’ll discover what that means for highlighter, brow and eye makeup. And as usual, we’ll see how this works with the four major Seasons, too.
A Statement of Detail
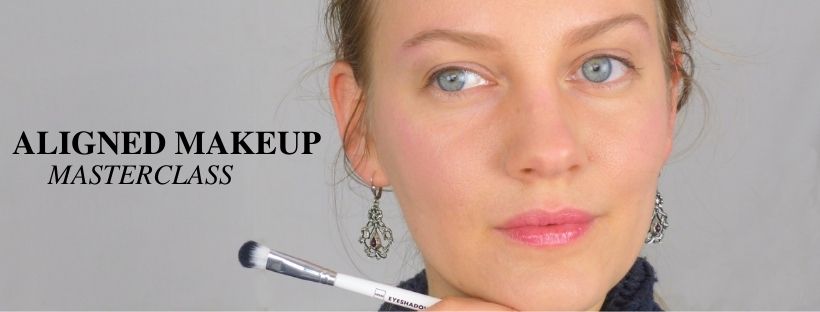
Horizontal yin is most effective at drawing attention to her eyes when the details in her face are clean and precise. Defined eyebrows and lashes draw the viewer in. Surrounded by light curves and fine points, her eyes become hypnotic.
Each of the four dimensions of Align has a unique relationship with light and the way they reflect it, much like the Seasons. Out of the four dimensions of Align, only horizontal yin emphasises the eyes by actually putting makeup around the eyes. (Read here parts 1 Intro, 2 Foundation and vertical yang, 3 Contour and horizontal yang, 4 Blush and vertical yin.
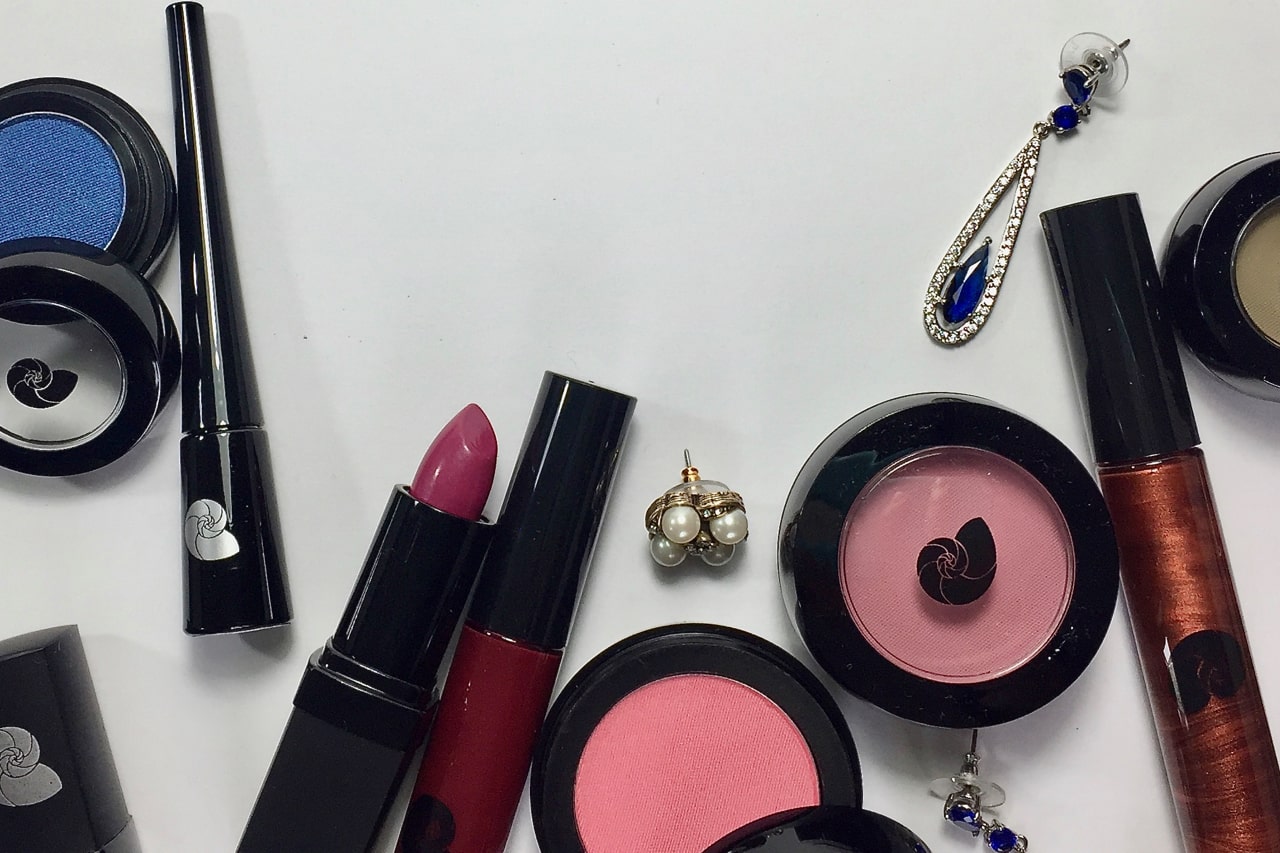
Horizontal yin has a special relationship with detail. For makeup, that detail takes the form of highlighter, and eye makeup: eyebrows, eyeliner and lashes. So while these products can be part of makeup for all body types, they are especially important for horizontal yin.
How to know if you have a horizontal yin dimension?
If you are small, with a narrow ribcage and small bones, then it’s very likely that you have horizontal yin in your body. Horizontal yin has the smallest scale of all, and is lightweight in the way it moves (regardless of actual body weight).
It’s possible to have horizontal yin as your primary dimension, but also as your secondary or tertiary. In that case, you may need to scale up the products and techniques mentioned in this post, by increasing the amount of product, area or coverage.
As always, feel free to try anything that suits your fancy, and experiment from there.
Image by Christine Sponchia from Pixabay
The best skin finish for horizontal yin
Because of her smallness and delicacy, horizontal yin is best flattered by detail. The details of the face are the features, the eyes in particular. When precisely defined, they bring the face into clear focus. Before we go into eye makeup though, let’s put the last piece to the puzzle of skin finish first.
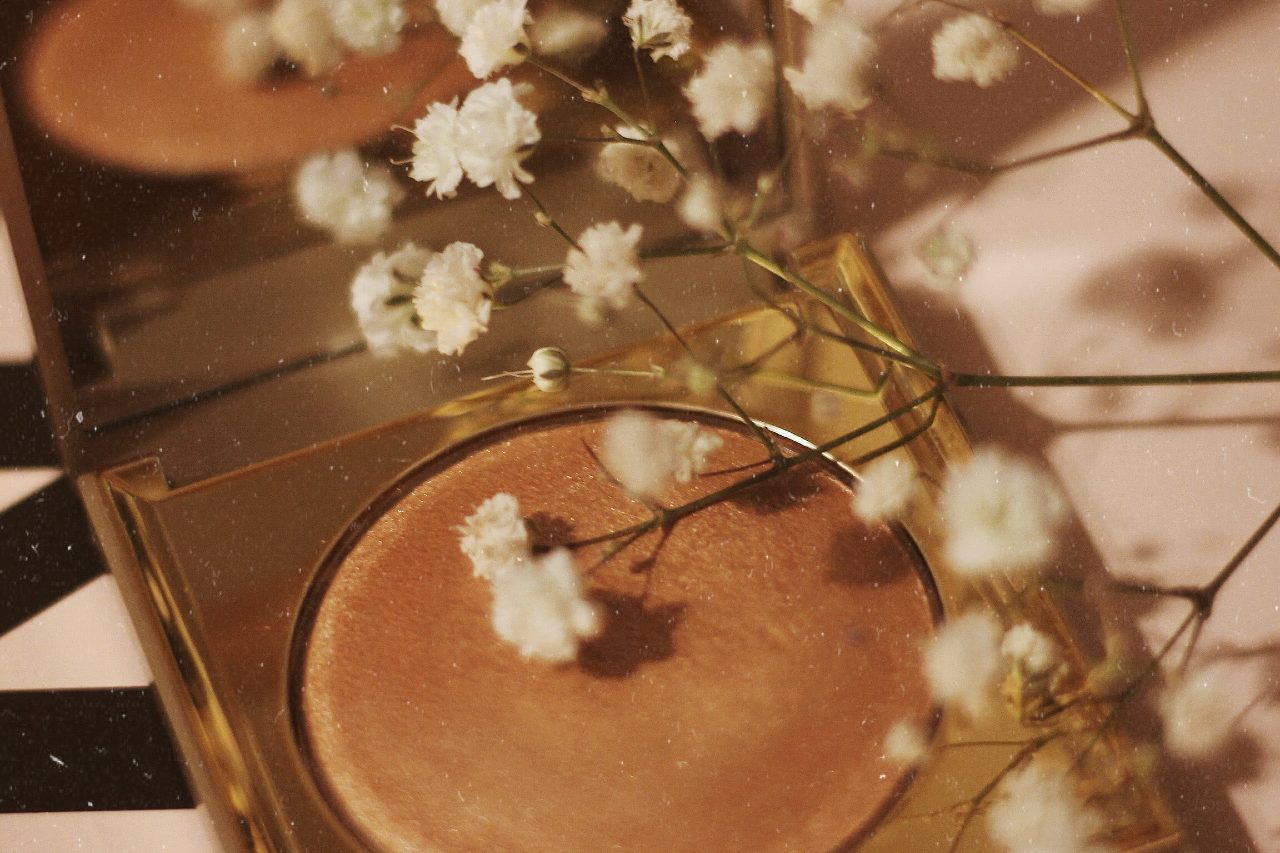
Highlighter
Yin is curvy, and this dimension is no exception. Because horizontal yin is so small, the curves are narrow. So narrow in fact, they can appear sharp. Horizontal yin is equal parts soft and sharp.
Shine enhances curve. As a result, the best skin finish for horizontal yin comes with highlighter.
Why didn’t we mention highlighter when we talked about vertical yin’s curves in the previous post? Well, the measured curves of vertical yin work best with a gentle, soft, velvety sheen. Hard highlights won’t make sense. And the glossier the shine, the sharper the highlight.
Horizontal yin, on the other hand, has curves that work differently. Those clear sharp highlights are a perfect match for the sharp bends of the horizontal yin face.
Detail for the skin finish, as it were.
Highlighter, just like blush, can go on top of any curve in the face. Horizontal yin has high cheekbones, and so highlighter on top of the cheekbone is placed rather close to the eye. It can also go on the brow bone, tear-duct area in the inner corner, the centre of the eyelid, bridge and tip of the nose, the top lip, and even a light wash on the centre of the forehead and chin. For the latter two, mix with translucent powder to make a softer gradient.
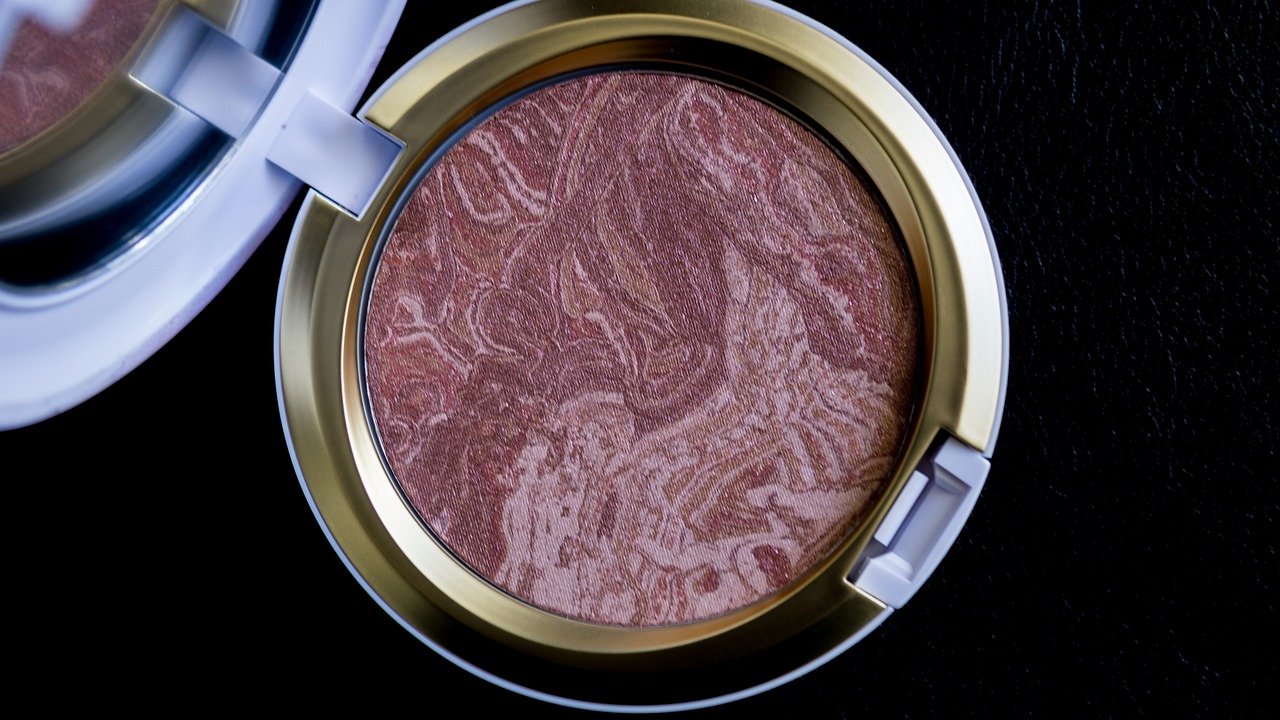
Image by PatrickE from Pixabay
Eyebrows
Well-defined eyebrows work like a landing strip, directing the gaze of the viewer the eyes. Horizontal yin’s eyebrows are slender and delicate – and not very large.
Yang makeup usually lengthens the brows. Horizontal yin does the exact opposite. Make the brows a little shorter by removing the outermost hairs. (Please don’t do this if your eyebrows don’t grow back easily. ) You only need to remove a fraction of the length (2 mm is plenty), yet the effect is dramatic. The eye area opens up and lifts like you wouldn’t believe.
Less is more also applies to filling in. A fully filled brow is just too heavy, even if you are using a product with a light colour.
The best way of ‘filling in’, is a thin line through the middle of the brow, along the central axis. This technique leaves the eyebrows defined but transparent, with a subtle gradient from the centre line to the outside edges. Stop just before you reach the outer end (remember, there’s no need for extra length). Lightly blend so the line diffuses, particularly on the inner end. You can leave the outer end sharp and defined.
I call this technique ‘gradient brows’. It’s a riff on the lip liner technique we discussed in the previous post.
A tip if you have dense or long brow hairs: use a brow comb to part your brows. It helps to place your product cleanly along the centre line. Yes, it’s fiddly and looks crazy. It works like a charm though. After you’re done you comb them back, which helps with blending too.
You can try gradient brows with a traditional wax pencil. However, my preferred product is eyeshadow powder. With a very small angled brush, you can place product very precisely. Also, I find the texture of eyeshadow more believable on lighter seasons or people with light overtones.
I still have to try this technique with those fine fibre-tip pens, and see if that works. Actually, I once thought I’d bought such a product. It was called a ‘fibre pencil’. When I took the wrapping off, from under the cap appeared a wax pencil, with small fibres embedded in the thick wax core. Fibre pencil indeed. Oh, the madness that is makeup marketing!
Eyelashes
Eyelashes are the best kind of detail, and bring out the best of horizontal yin’s magic. Fine and feathery, each single lash zings with energy as it tapers into a fine point.
This means we want the lashes as defined as possible, so definition mascara it is. It’s not necessary to make your lashes as long, large, full or heavy, so volume mascara is best left to yang. A lash tint will also be effective.
For day makeup, you might even rub most of the mascara off after applying. It avoids any bulk on your lashes, particularly if it’s a fresh tube, and leaves only the tint. Use a clean spool wand to take off the excess. If you’re like me and you make a big mess doing this, you can also pinch your lashes carefully between your thumb and forefinger, hold for a moment and let go. Most of the mascara now sits on our fingertips, which you rinse off.
However, if you need to do evening, video or stage makeup, I’d opt to leave on a heavier application after all. Also, be a little careful with waterproof mascaras. They are stronger, and you don’t want to glue some hairs to your fingers or lash comb and accidentally rip them out.
Finally, separating the lashes is worth the effort. I find a spool wand a bit awkward and prefer a lash comb. The trick is in the timing. If the mascara is still wet, the lashes will stick together anyway. If the mascara has completely dried, you’ll risk pulling your eyelashes. When it’s just tacky, that’s perfect.
How about curling your lashes? By all means, yes! However, I don’t have advice for that one. I’ve tried curling them, but they uncurl themselves faster than you can say ‘stubborn’.
With fake lashes – you’ll feel this coming – you’ll want them to be very lightweight. Choose the lightest, wispiest, featheriest strips you can find. Individuals are more subtle and would suit even better. Fake lashes can have the ‘accent’ of the strip in the middle, for a round doe eye look, or at the outside for a cat eye look. Horizontal yin is fine with both, so the choice will depend on your other dimensions.
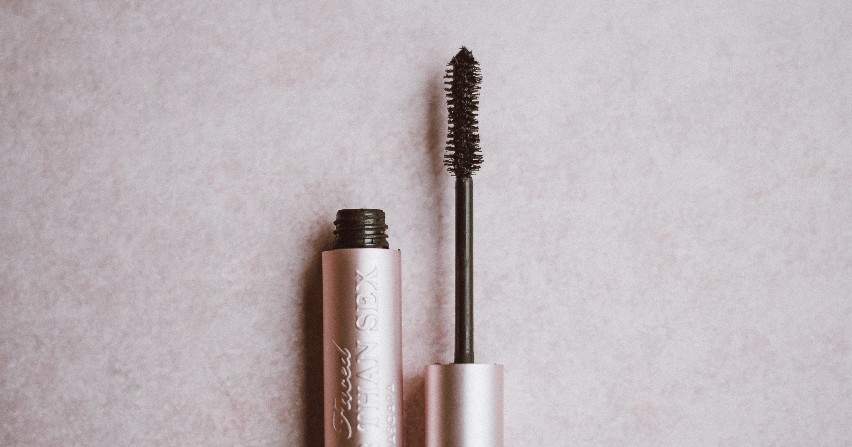
Image by Annie Pratt on Unsplash
Eyeliner
For eyeliner, yet again less is more. This is not going to be a long or thick line. After all, where would you put that much product on such a small face?
My rule of thumb for horizontal yin eyeliner: make it as thin as possible. Thicker liner would cover the narrow portion of the movable lid that remains visible when your eye is open. It leads to unwanted raccoon effects. It’s better to keep the lid clean.
Accordingly, horizontal yin eyeliner is hairline thin, and sits as much between the lashes as above them. The purpose of eyeliner is to mimic a full lash line. Therefore, our only purpose with liner is to visually join the bases of the lashes, anchoring them to the eye. It prevents the mascara from ‘floating’ in front of the eyes, and is particularly useful with light coloured or sparse lashes.
Also with light overtones, it is good practice to line the waterline of the upper eyelid. It prevents the skin colour peeping through, in between the eye and your lashes. For lining the waterline, a kohl pencil is best. They are wax based and will stay put.
However, for doing thin eyeliner, I think kohl pencils are impossible. The tip needs to be small and super sharp to get really close to the lashes. You’ll believe your sharpener has become a portal for eye pencils, they’ll disappear so quickly.
A liquid or gel liner is easier, preferably with the thinnest, tiniest brush you can find. The applications that these products come with, are sometimes a bit fat for my tastes. Watch out with the colours too, they can be so dense that they might not work with the Season.
Because horizontal yin is soft as well as sharp, I like to finish my liner by going over with a dark eyeshadow. It diffuses the edge ever-so-slightly for a more natural looking result. I don’t go as far as to smoke out the liner – but see the section on Summer below.
What about winged or cat eye liner? In theory yes, horizontal yin will know how to handle the sharpness, as long as you respect the soft finish and small scale. Thin, small baby wings are fine. Lift off the lash line before you reach the outer corner, and taper off very quickly, hardly extending the eye. It’s about millimetres. Larger winged liner in various forms, is more suitable for yang.
Eyeshadow
I didn’t mention eyeshadow in the intro, and that’s because we’ve actually already covered it. Most eyeshadow techniques revolve around dimensionality, so please see post 3 for more information.
Instead of windscreen-wiping through the socket line, we use the dot-contour method. Place a chickpea sized dot of your contouring eyeshadow in the socket line, under the highest point of your eyebrow. It’s a small amount of product, yet it’s plenty. I’m still amazed by how right and real this looks.
Horizontal yin and colour
Now that we know what products work and how to apply them, let’s see how this interacts with the four Seasons.
")
Image by KristineT from Pixabay
Spring
Eyeliner, lashes and brows need little modification from the description above, so we’ll concern ourselves with highlighter only.
Spring is our closest analogue Season for horizontal yin. Both love transparency and highlights. The highlighter for this combination of body type and Season is at its glossiest, nearly lip gloss-like in texture. (Speaking of lip gloss, that’s actually a great product for horizontal yin.)
A highlighter like this is far more about texture than it is about colour. While you could add a subtle golden shine, it would be ideal if the product is near-colourless, as sheer as possible.
When does glossy get too glossy? I’m not saying you should literally put lip gloss on your cheeks. That could be a fun proof-of-concept, to see how far you would like to go – but it’s not practical. I know that because I tried it out :P.
However, cream highlighters could be great. These skin glosses look good. Also higher-end powder highlighters, when very finely milled, can achieve this ‘wet’ finish, I like the look of this one from Charlotte Tilbury.

Image by Marc Pascual from Pixabay
Summer
Summer’s highlighter is nowhere near as glitzy as Spring’s. The fine detail that horizontal yin likes, expressed through the drier texture of Summer, comes out as finely hammered silver, almost faceted. Baked highlighters seem to have just this texture. This one from Kiko sounds promising, except for the glitter, which risks being too grainy. The picture is too heavily photoshopped to make out what it’s doing. A safer bet is probably Becca Shimmering skin perfector in Pearl or Amethyst.
The area of application is very small, and as this is the Season of watercolour blending, will overlap with the blush, which sits immediately below.
Summer is a fairly light Season, but in conjunction with horizontal yin a surprising effect arises for the eyeliner. The moonlit quality of the palette actually allows for a smoked effect.
Most other horizontal yin people are overwhelmed by too much darkness on the eyes. This happens irrespective of Season, one of those curious colour effects that arises purely from body type.
However, Summer works with longer gradients, and can take the darkness from the eyeliner and diffuse it further than horizontal yin would generally. After going over your liner with powder, take a clean brush to smoke it out.
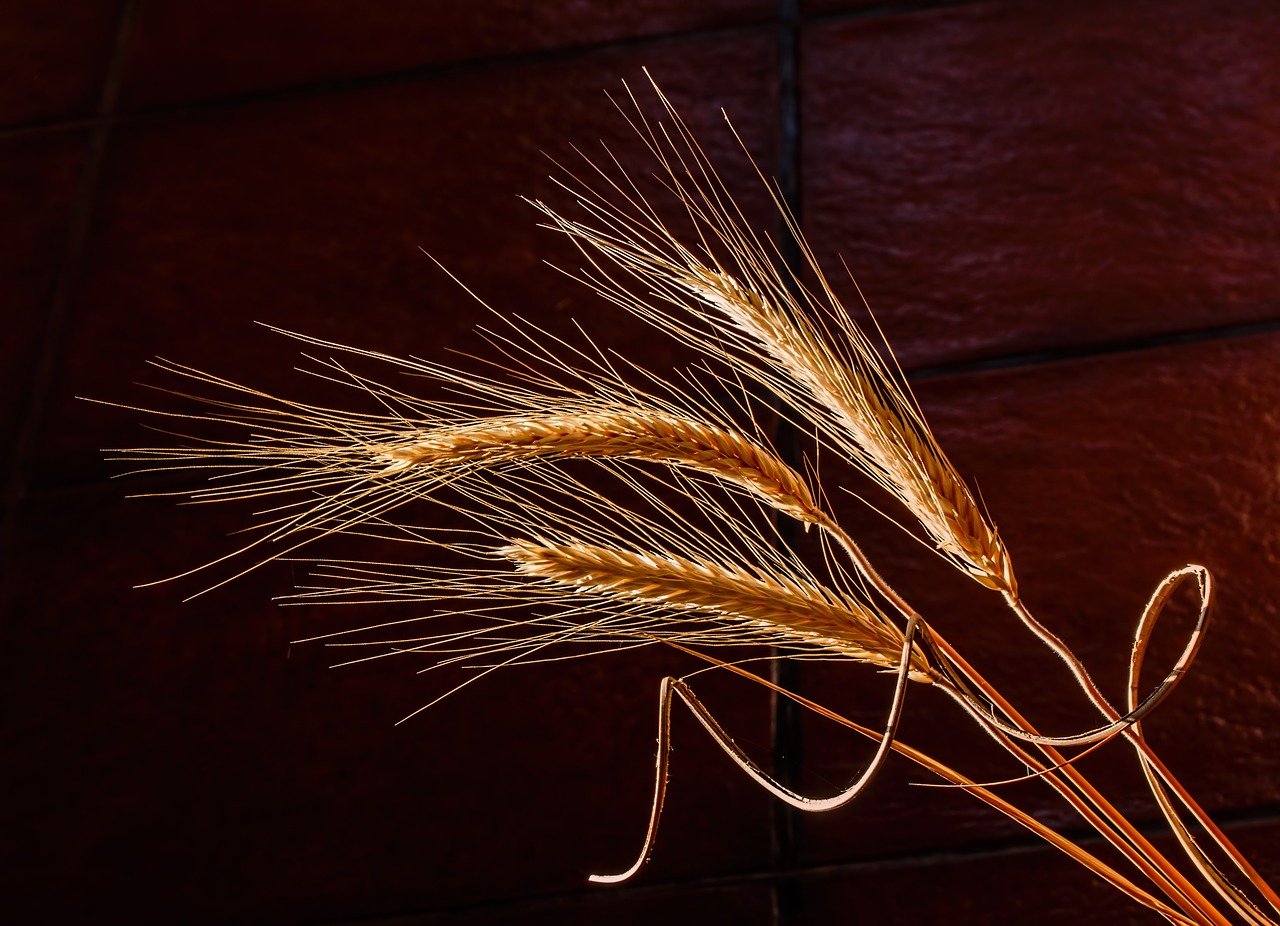
Image by Steve Buissinne on Pixabay
Autumn
Like Summer’s, Autumn’s highlighter becomes hammered bronze gold. A shimmer rather than shine. Perhaps a lightly sparser shimmer, this is sunlight shining through Autumn leaves after all. Just like we saw in post 3, a lighter toned bronzer can do the highlighting, when it’s shimmery enough. I like the look of Elf cosmetics Baked Highlighter, and the colours seem compatible with Autumn.
With eyeshadow, that same shimmer effect can look really good. However, to avoid an ‘overexcited’ look, pair it with a matte shadow. Mattes and shimmers at the same time is optimal, as Autumn does shade as well as sunlight.
Autumn’s coffee-coloured mascara and liner are a little denser in their colour, but should not come in dense formulas that hinder precise application. Eyebrows likewise, are denser than for Spring or Summer. You can still use the gradient lining technique, but apply a little more pigment (but not darker than it needs to be) and blend out carefully to stay within the outline of your brows.

Image by Pezibear on Pixabay
Winter
Winter’s highlighter is complicated. This is a highlight that’s stuck in place, frozen over. Ice shines less than liquid does, and so highlighter needs to be translucent and crystalline at the same time. I’m still looking for the right product. I’ve tried a couple cheap options so far, a cool gold and a blued/purpley silver, and both of them were a bit glittery. Ideally, look for one with less of a glitter effect, and more subtle sheen.
A good option may be this from Hourglass, in shade Ethereal Light.
Ideal Winter eyeshadow colours for horizontal yin are not your typical dark greys and browns, but mid taupes and beiges. Dark makeup looks bigger than itself, and may become unbalanced on horizontal yin, even on Winter. It’s best to keep to mid-tones for people with dark overtones in their eyes and hair. With light overtones, it’s best to stick to even lighter shades. On myself, as a blonde, I find a medium beige plenty for a ‘dark’ eyeshadow. I use an eyeshadow from Rituals. The palette is discontinued so I can’t link it, but this shade looks to be the same colour (left column, 2nd shade down).
However, Winter brows, like Autumn’s, are also dense. You could try a denser application for gradient brows, particularly for dark overtones.
Announcement – Giveaway coming soon!
This went so fast! What did you learn? Is there something you’d love to try on yourself? Tell me in the comments. And I’ll be around to answer questions. We’ve concluded our tour around the four dimensions of Align. There’s only one more post to go in the Masterclass series. In that one, we’ll see how to put everything together and create your signature Aligned makeup look. Also, I’ll be announcing a giveaway! Stay tuned for more details…
This Makeup Masterclass is a sneak preview to Align style analysis, only for readers of Chrysalis Colour. Align clients get this information on makeup too, plus a workbook for building their signature makeup. Stay tuned to the next posts, as we’ll open doors to Align soon.
Note: the website adventures continue – my website still isn’t up so the buttons below don’t work, but you can always reach me via florentina@callastudio.nl.